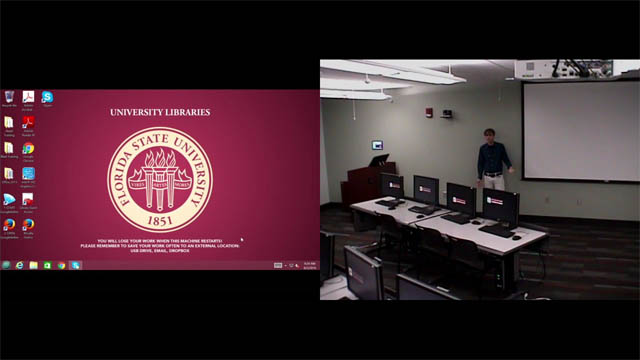
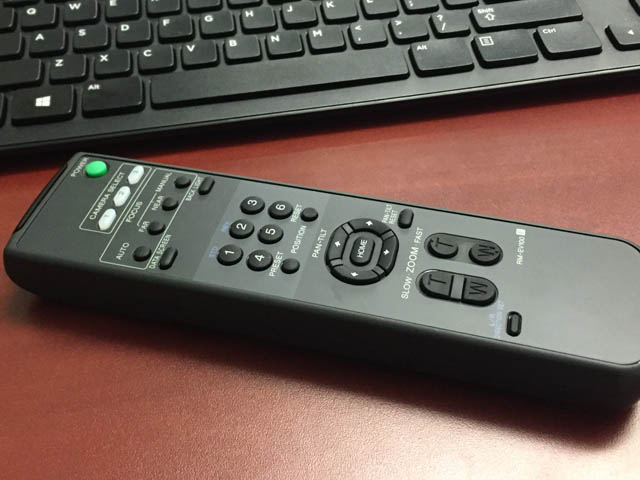
The equipment in the instruction rooms can record up to three hours of video onto a USB drive. By default, the output of the recording is in a splitscreen format, with the left side consisting of whatever is projected on the screen (107A: "Front Screen"), and the right side showing the instructor. Use the remote control stored in the podium to adjust the camera's angle, focus, and zoom.
The default recording configuration: presenter on right, desktop on left.Adjust the camera's position, zoom, and focus using the remote.
Setup
Get the keys to the podium, a USB drive, and the whiteboard pens if applicable. Undergraduate Services and Scholars Commons each have a set of keys and pens. The key to the front of the podium is marked "0001."
Turn on the projector (107A: "Front Projector." The Capture HD cannot record "Side Projector.").
Turn on the instructor station and any other devices you plan to project during your presentation. If applicable, connect your external device to the system via the HDMI or VGA cables provided.
Drag your input source down onto the projector.
Yes, you can record your own laptop or any other device (see Touchpads for more details).
Image configurations other than that pictured above are possible. Please let Systems know in advance if you'd like it changed.
Using the Skype video settings on the instructor's station as a guide, use the remote control (shown above) to adjust the camera's position. See Skype for more details.
How to Record Your Presentation
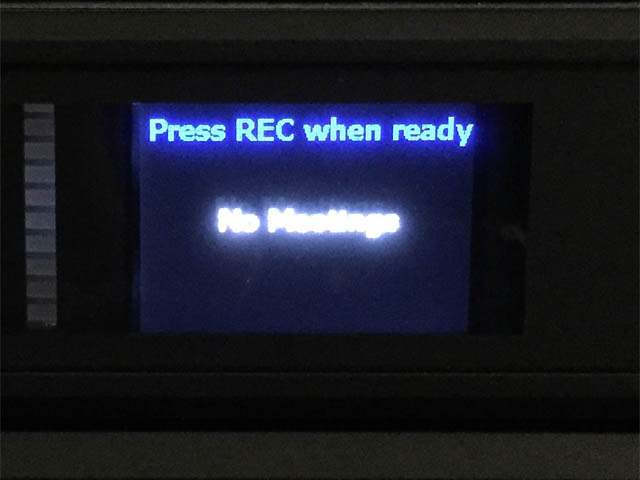
Open the cabinet. The Capture HD indicates its ability to record by displaying "No Meetings Scheduled."
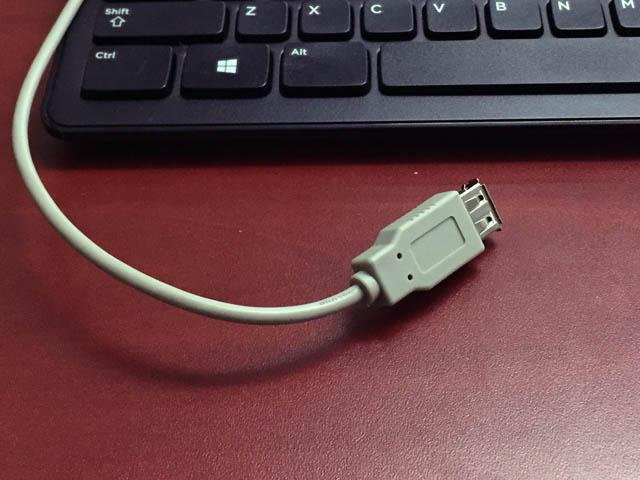
Insert a USB drive into the USB extension cable located on the instructor station podium. The drive should be empty and formatted as FAT32.
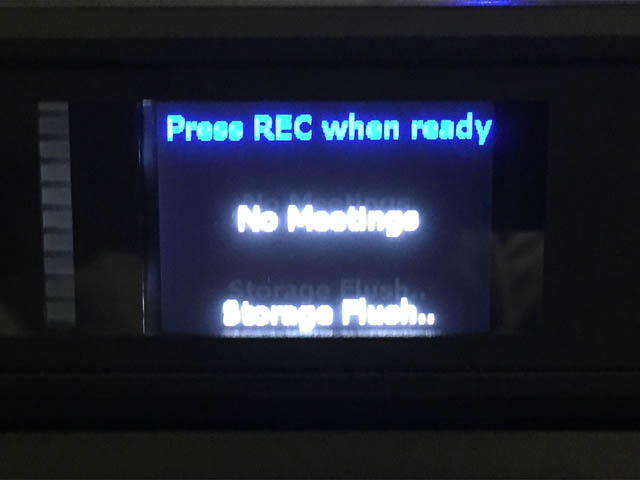
The device will indicate when it is ready to write to the drive. This process might take as long as 30 seconds.
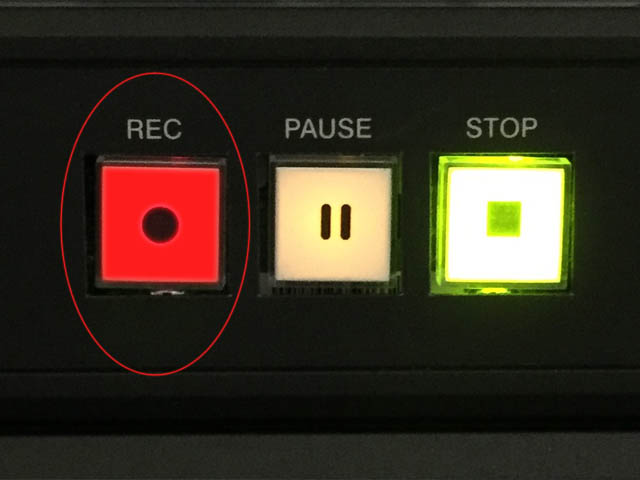
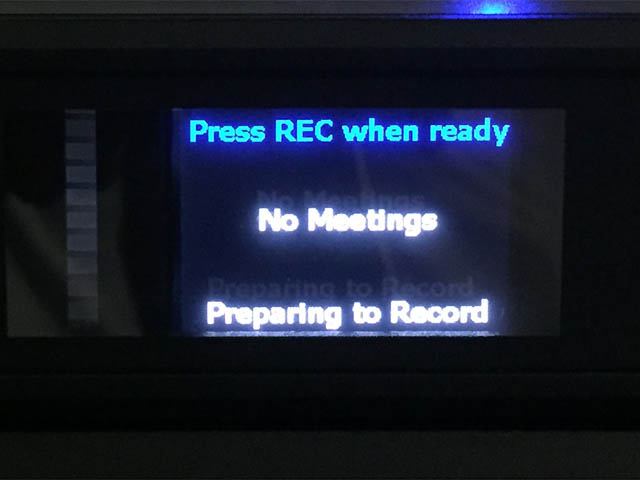
Press "Record" on the Capture HD. Recording does not begin immediately.
The Capture HD will spend another 30 seconds or so preparing itself to record.
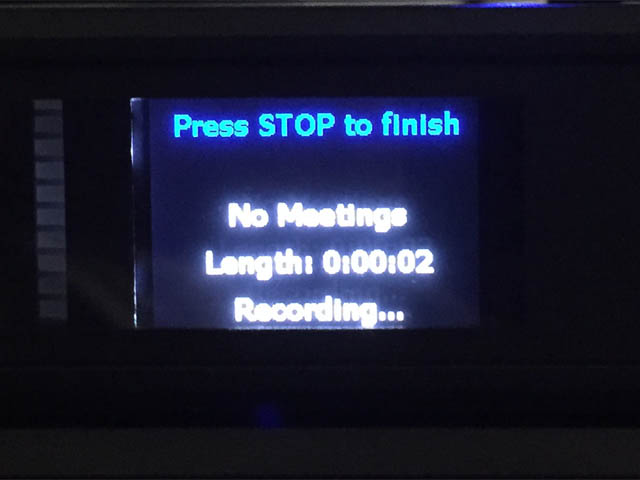
The device will then begin to record. The device's display provides a rough estimate of the recording's length.
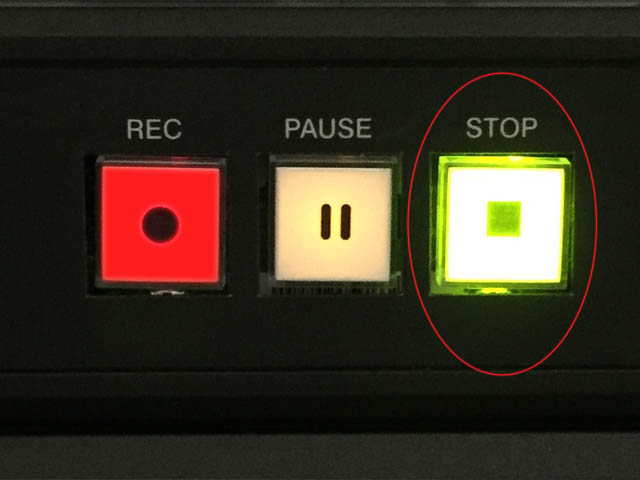
When you've finished your presentation, press "Stop" on the Capture HD.
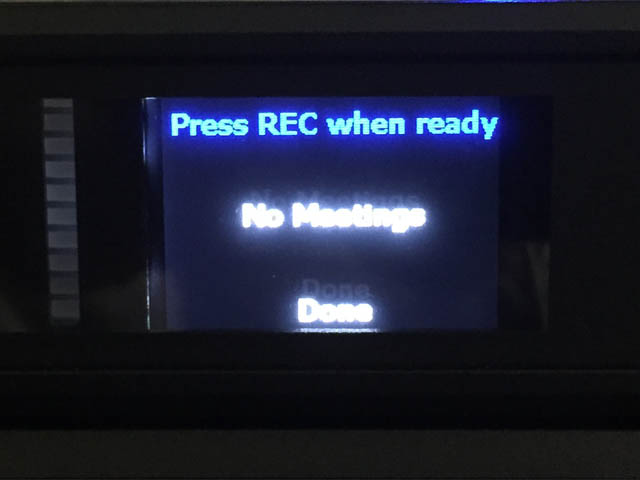
Although you've pressed stop, the unit still needs a few seconds to complete saving the file to your USB drive.
One the Crestron HD's display reads "Done," you may remove your thumb drive.